|
|
|
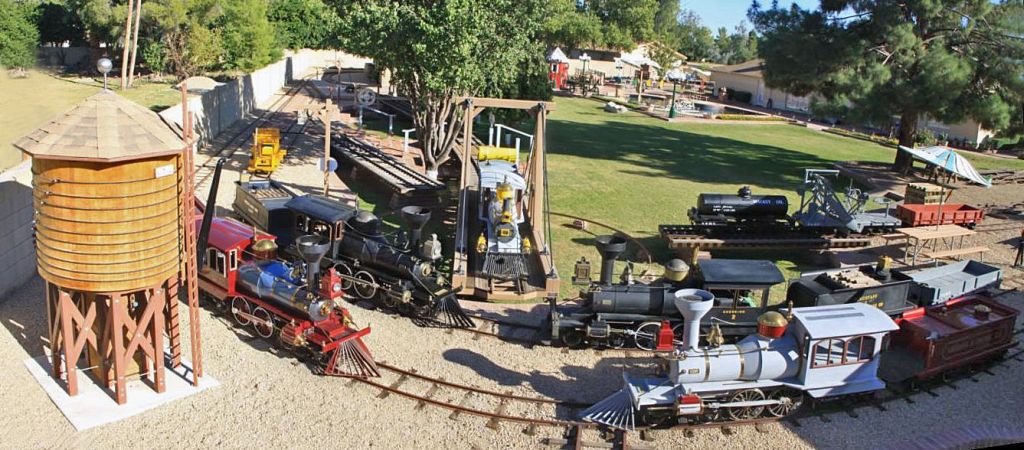
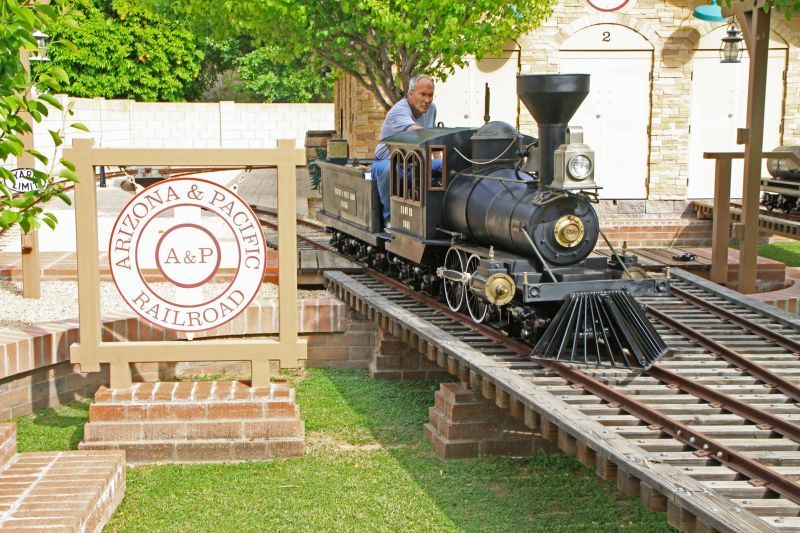
This is the tenth year I have written an annual report and every year as I look back on what we accomplished during the prior twelve months, I think it’s been one of the busiest years ever on the A & P. This year isn’t any different; it was a very busy year.
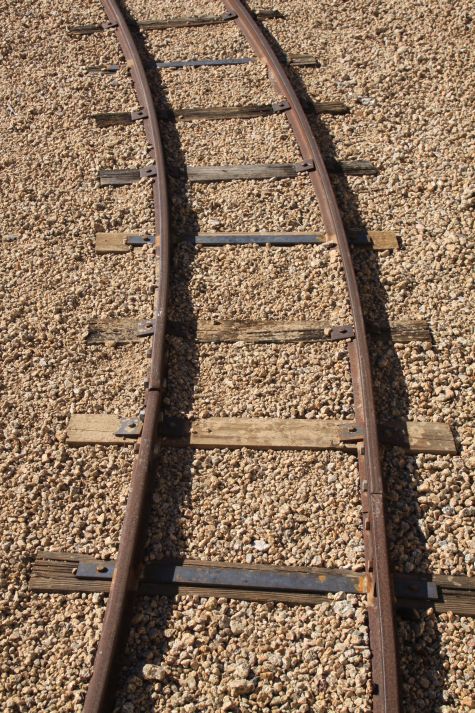
We typically describe construction projects in this context as brand new construction as part of or adjacent to the right-of-way. We didn't really have any projects that met that description this year. We did quite a bit of work rebuilding all of our curves and transforming the curves into a series of track panels instead of individual rails. This project was designed to keep our gauge consistent even in the seasonal temperature changes that historically have caused rail creep issues on our tight curves.
Previously, as the rails grew and shrank in length with temperature change, the gauge was affected as each rail grew and shrank independently from one another. We placed gauge bars throughout the five curves on our layout. We can't stop the seasonal rail creep, but the intention is to have the rail move as a panel so the gauge won't be impacted.
|
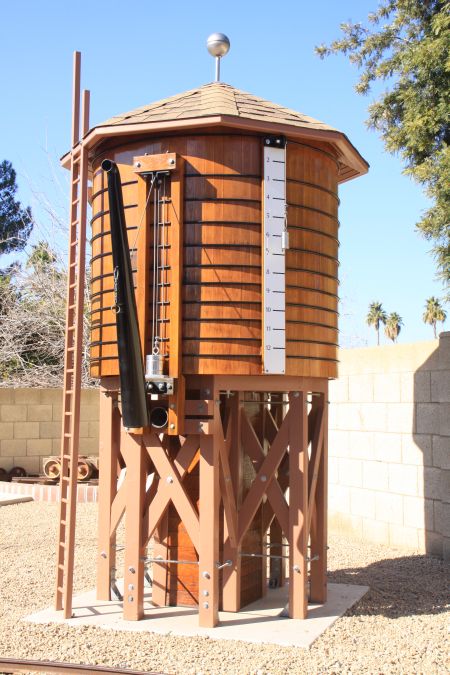
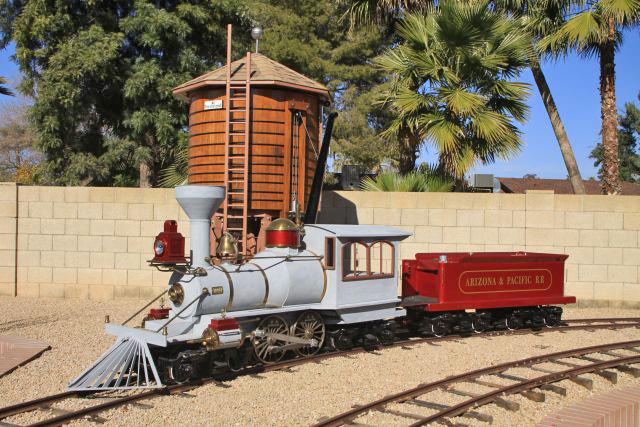
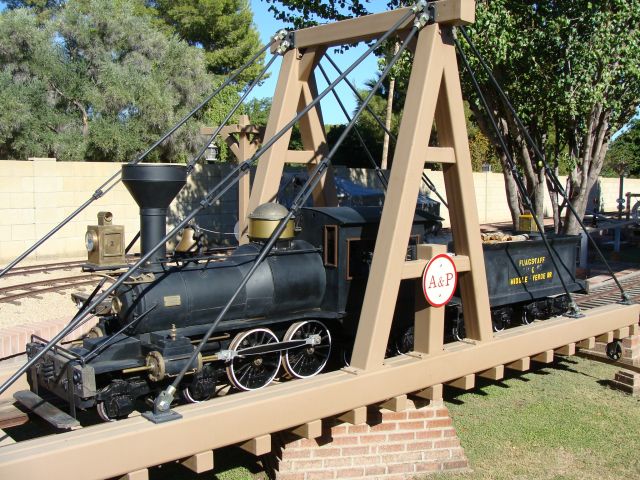
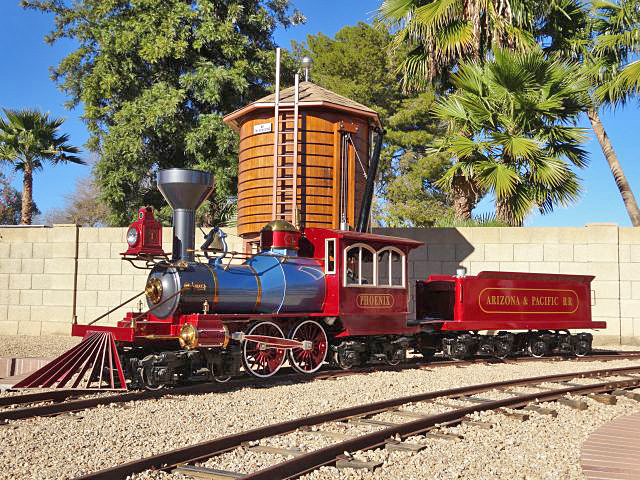
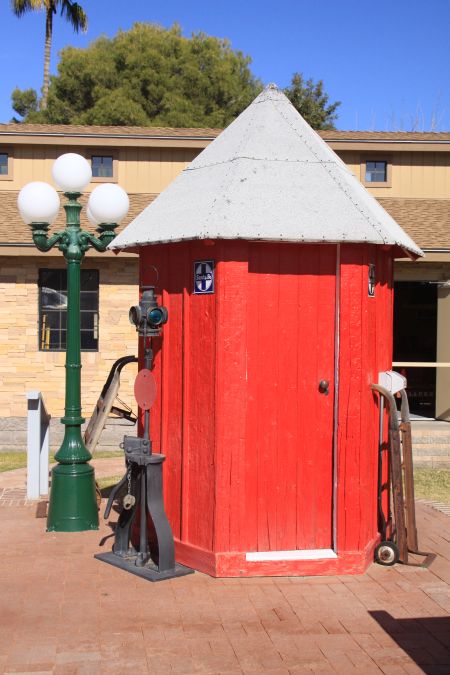
In December, we sanded, restained, resealed and repainted our water tank. The staves of the tank, retaining rings, legs and cross bracing, soffit, ladder and even the frost box was sanded and refurbished. The tank was originally completed in 2005. She should look good for several more years.
|
We serviced our 9 switches. We lubricated where needed, adjusted the springs, cleaned debris out of the frogs, wings and points and cleared gravel ballast as necessary. We tightened, and in some cases replaced with longer ones, the four mounting lag screws on the foot plate of all the switches.
We lubricated the turntable center bearing and the four large wheels that roll on the ring rail. We also lubricated the four large wheels of the transfer table. Each of the wheels has a zerk fitting; some of which are readily accessible and some which require some flexibility… Twice a year we service the turntable and the transfer table.
Monthly we work on checking the gauge and regauging the curves when necessary, lubricating and maintaining switches, tightening tie plates and replacing ties. It isn’t exciting, or photogenic or sexy, it just needs done. There is always something that needs done on a railroad. From painting to lubricating to routine track and train maintenance projects to keeping batteries charged, there is always something demanding your time.
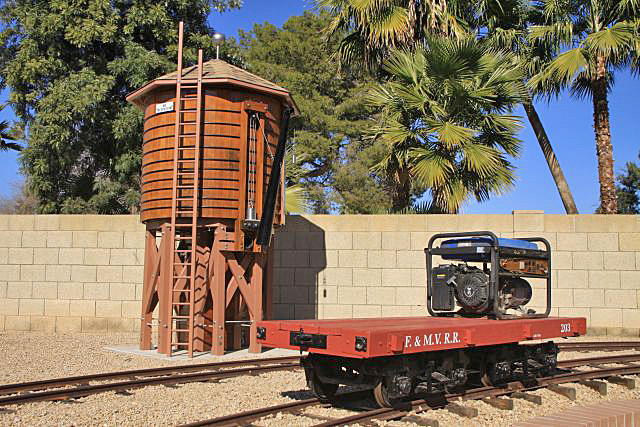
I acquired a medium sized used generator that we have placed on Gon 203. We have used it several times along with the welder and various tools as we performed maintenance work throughout the year. It is nice not dragging extension cords for as much as 125 feet to get to some of our work areas.
|
The lack of new construction projects was more than made up for with the number of extensive shop projects undertaken during the year. Many of the smaller projects don't get mentioned in the monthly or annual report.
|
We replaced the batteries in our 48 volt electric S16, the Sandusky, as they just wouldn’t hold a charge under load any more. They were the original batteries that we placed in the engine in March of 2008. They haven’t really held a charge properly for the past few months. We get three summers and about three years on our car batteries in Phoenix as a result of the extreme heat - after that you are on borrowed time. It looks like we might do a little better than that on the locomotive batteries, but after four years, it appears they are on borrowed time too. We cleaned the battery cables that didn’t look as good as they once did and cleaned and repainted the battery tray as well. I had forgotten how heavy eight of those 6 volt deep cycle batteries are… It is great to have the Sandusky back on the rails and in good shape.
|

|

|
The only significant project on the “Red River” this year was we added wiring to the engine and tender. We wired a "coach light" circuit to light up lights in any car it might be called upon to lead. Previously, Dave had wired each of our other four engines for this purpose and we finally got to this one. The "coach light" circuit is hot with the front headlight.
|
|
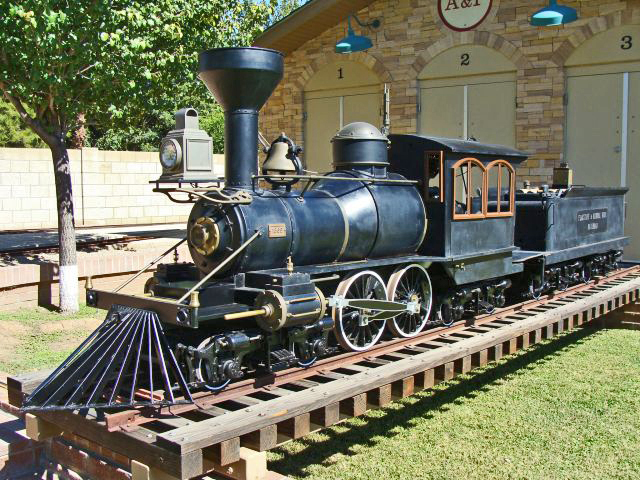
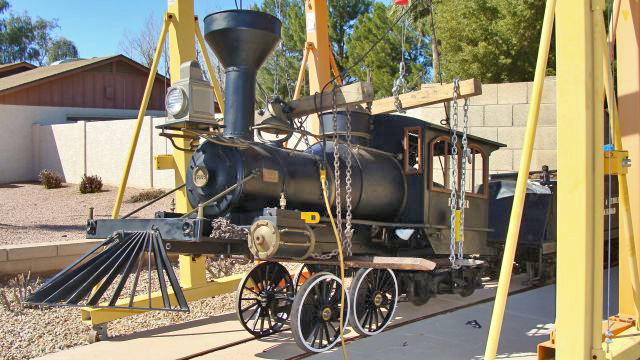
The Tucson received quite a bit of attention this year. We cut out the pilot beam and the front sections of the right and left running boards that were damaged years ago and replaced them. The pilot beam is now solid steel instead of hollow.
|
We completed some electrical work on the Tucson. We installed six pin trailer connections on both the engine and tender. Dave fabricated a pig tail to connect the two. We also installed a six pin connector on the rear of the tender. We painted it black so it will not be as noticeable or eye catching in the future. Dave completely rewired the entire tender and rewired parts of the engine accessory package – headlight, dash lights, tender light, running lights and the related switches. Everything works great!!!
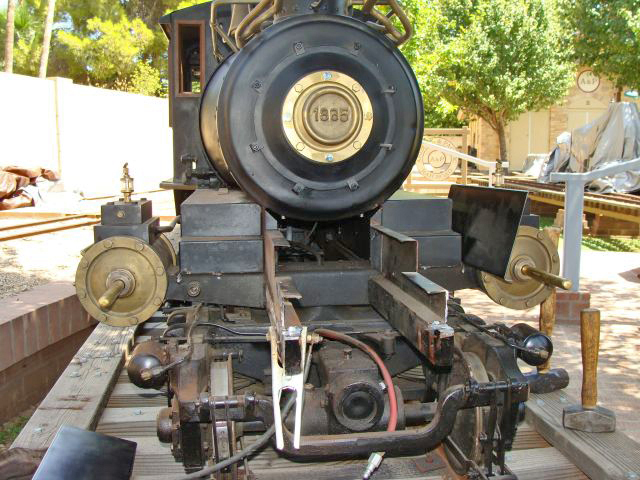
She also received a comprehensive tune up as she had started running rough under load. We couldn’t determine for sure if the problem was electrical or fuel related. Instead of replacing a part at a time until we figured out with certainty what the problem was, we took a global approach. We rebuilt the distributor, added a new rotor, points, condenser, distributor cap, plugs and wires. We also rebuilt the carburetor. It had been several years since she had received a comprehensive tune up and is running sweet.
We also completely rebuilt a set of false drive wheels and installed them on the Tucson. We got four of the wheels cleaned and painted. We fabricated the counterweights. I went with black spokes and hub, but decided to paint the tire sidewall white in the classic style. We replaced the bearings, races and seals. We used all new chain, bushings and bolts. We fabricated the mounting brackets, pull rods and spring tension assemblies. We also fabricated the short and long side rods, the four knuckle joints and the two cylinder rods. We fabricated the parts to look like the originals, but used solid and slightly thicker material. She hadn’t operated with the false drive wheels since some time prior to 1970; it was really great seeing her run with the false drive wheels again.
|
|
|
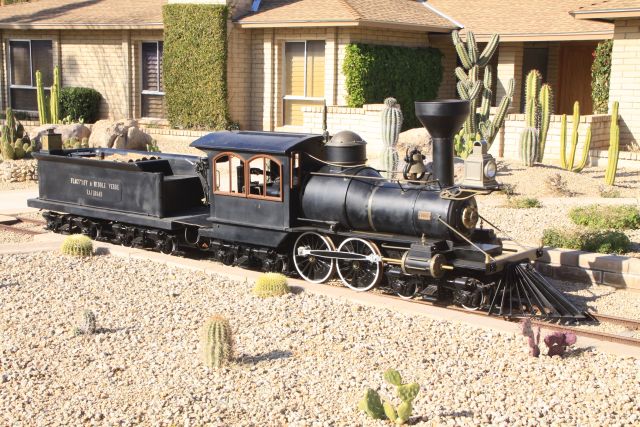
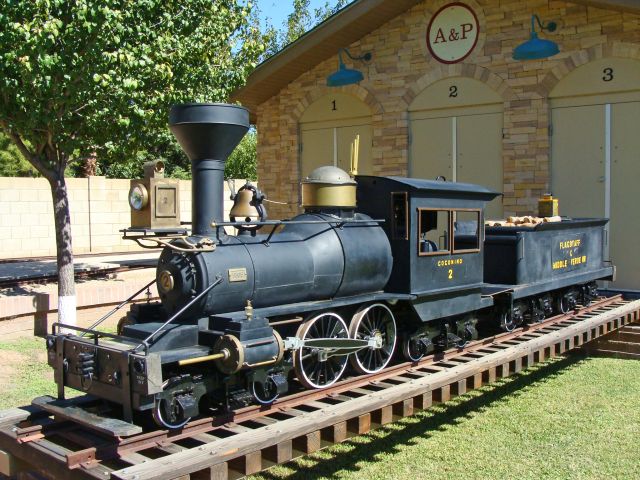
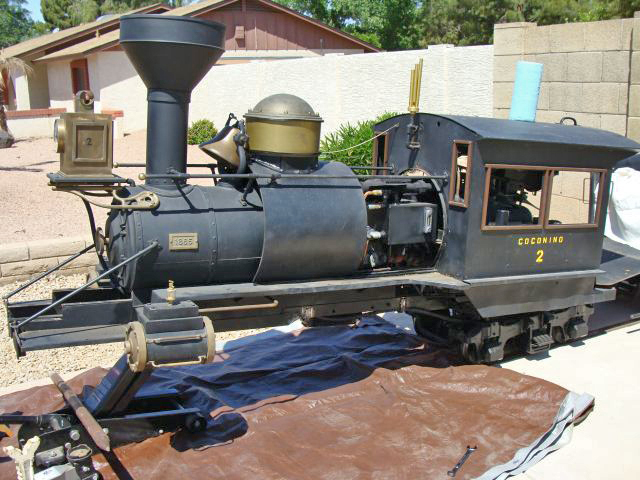
The Coconino also received a great deal of attention this year. We completely rebuilt and fabricated the missing parts of a false drive wheel assembly for the Coconino. The two sets of side rods, the cylinder rods, pull rods and tension rods were all fabricated as was the sub frame and axles. We modified the cylinder rods slightly and made several adjustments on all of the new parts until we got everything fitting and working properly. The false drive wheel assembly works great and I think it adds to the overall appearance of the locomotive. She still retains the look of a logging locomotive with the heavy timber front pilot and the similar timber beam on the rear of the tender. I’m not sure when she last operated with drive wheels, but it was well prior to 1991.
|
As I stated when we first saw the Tucson run again with the false drive wheels under her, there is just something about the look of the big drive wheels with the pair of side rods and cylinder rods that make these girls look like a turn of the century locomotives – I love that look.
We repaired the badly bent left cylinder pipe on the Coconino and reattached it. It was damaged pre-1991 and had bothered me off and on for years – just not enough to take the time to fix it properly.
We touched up with satin paint the push pockets and other non-wood components of the front pilot beam and the rear tender beam. We rebuilt four axle and wheel sets for the tender and repainted them complete with a white tire stripe. We swapped out the axle sets that were under the tender for the newly rebuilt and repainted ones. The ones we removed will get rebuilt and swapped out under the next piece of equipment. The tender trucks under the Coconino do not have vacuum brakes as all braking is done through the four hydraulic motors under the engine.
|
We added a hydraulic oil cooler to the hydraulic system and mounted and wired two 3000 rpm fans to move air through the cooler. We also added a fluid filter to the hydraulic system as it did not have one in its original configuration. With all the new hydraulic plumbing in place, we cleaned all the old hydraulic fluid that had leaked out over the years as well as some smaller messes we made in the course of this project. We also got some fresh paint on the new plumbing and on the reservoir and exhaust.
Dave resolved a handful of electrical problems on the Coconino. Two of the four problems were bad connections and the other two were bad switches. All the issues were repaired and the electrical is working great.

|
|
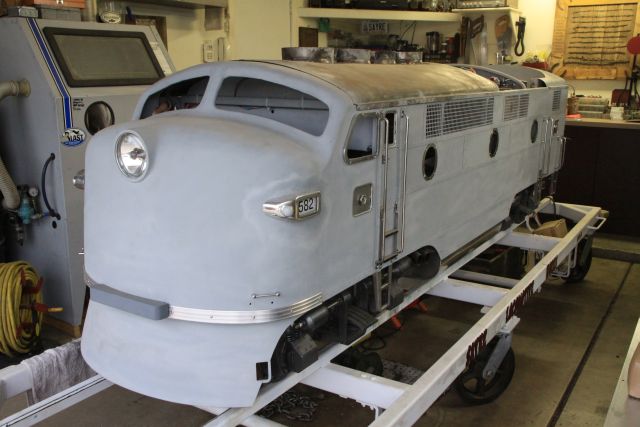
It had been quite some time since we had completed anything substantive on our G16 No. 582. We finally completed the hood brackets and mounted the pressurized shocks that lift and support the hood. The upper brackets are welded to the hood while the lower brackets are bolted through the firewall. We fabricated and mounted the hood catch and made all the adjustments and also mounted the hood release cable and lever. When you pull the hood release handle the hood opens and rises at the appropriate speed by itself. When you close the hood, it sounds like closing the hood on your car, but you just close it without slamming it. It works very well and I am quite pleased with the design and functionality.
We also installed the choke cable.
We still have No. 582 up on the rack and she hasn’t seen the rail yet, but she will be on the rails running in 2014.
|
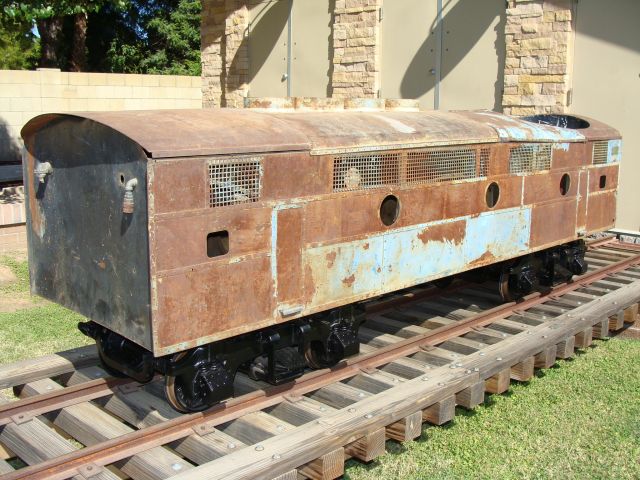
We made some progress on the B Unit this year.
We replaced a sheared off safety hook on the B unit by removing the pin and roller of the bolster assembly with the sheared off safety hook. We ground off the weld at the shear point, welded a new hook in place greased and replaced the roller and pin.
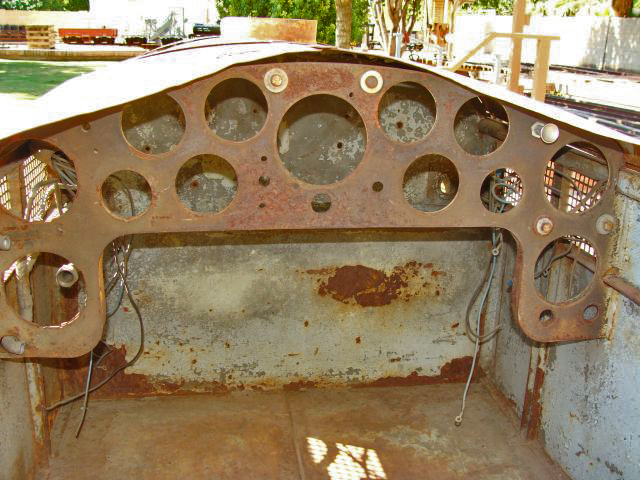
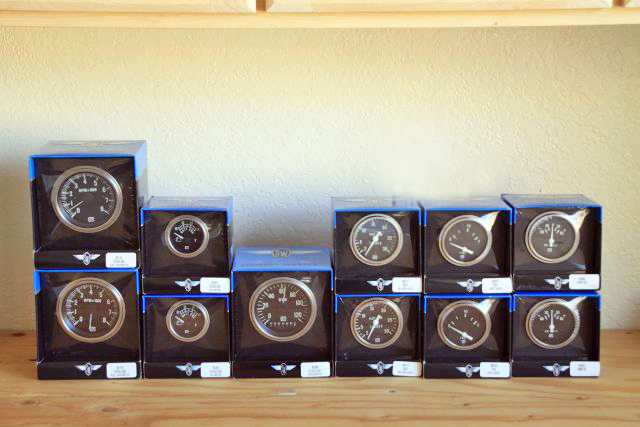
We determined that there were approximately 45 "Limited" train sets produced by the Miniature Train Company. The "Limited" model had two power units either two "A" units or powered A and B units. It is unknown how many "B" units were produced, but it is believed to be less than thirty. There were at least four versions of the instrument panel in the B units and they range from seven to thirteen gauges. We have the thirteen gauge model which is very cool looking, just a bit more expensive and problematic to restore... We have located and acquired all the NOS switches and push buttons and have purchased all the Stewart Warner blackface gauges. We still have a long way to go, but this will be a fun project.
|
|
|
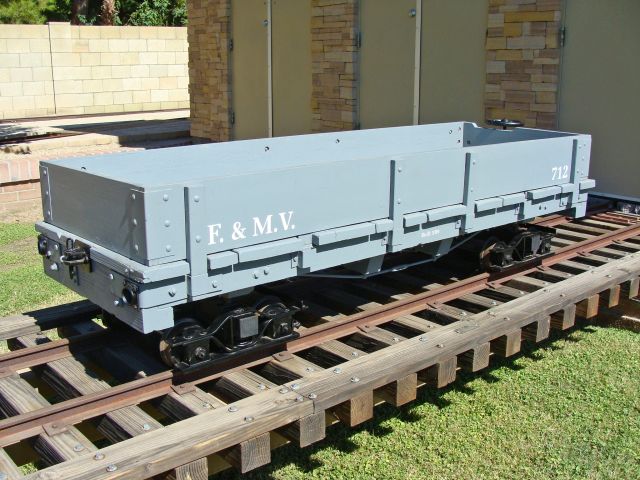
We took gondola 712 apart and cleaned, lubricated and painted everything. We also lettered and numbered her. We retained her original car number of 712 instead of renumbering her 201.
|
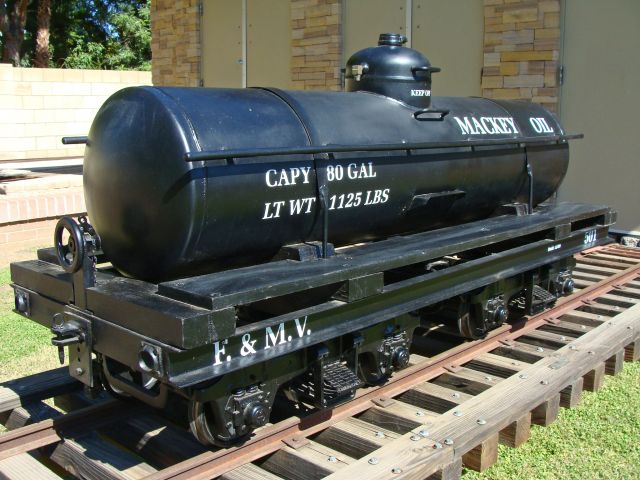
We finished the lettering on the tank car.
|
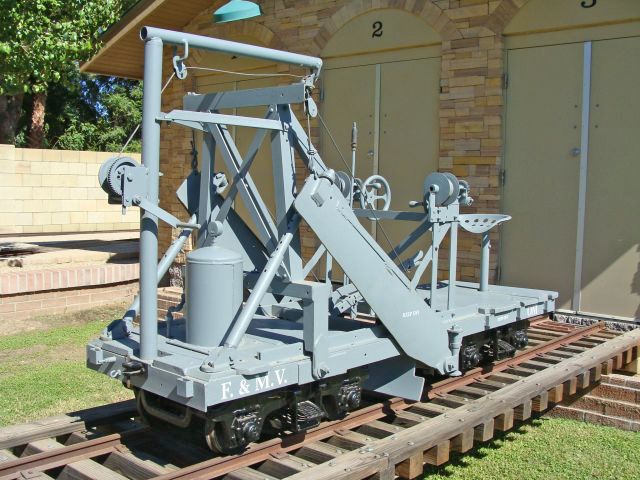
We finished the lettering on the Jordan Spreader. Everything on her was cleaned, lubricated and adjusted. Although she likely won’t be used as a spreader on the A & P, I wanted all the components in good operable condition. She has now been officially returned to service.
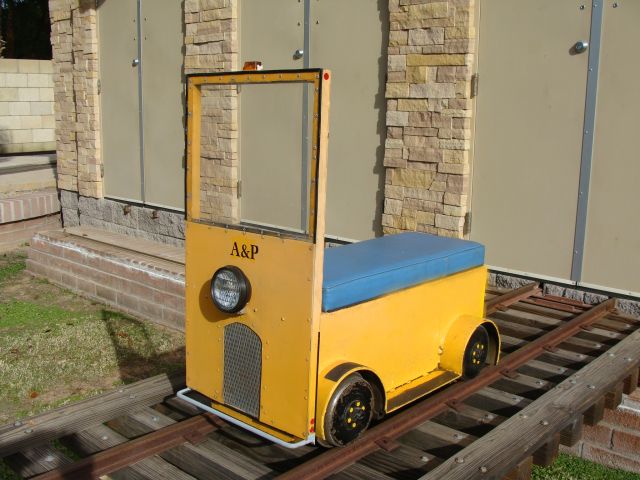
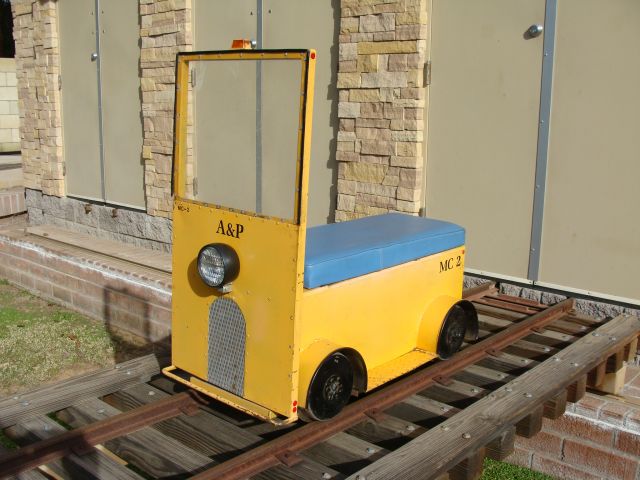
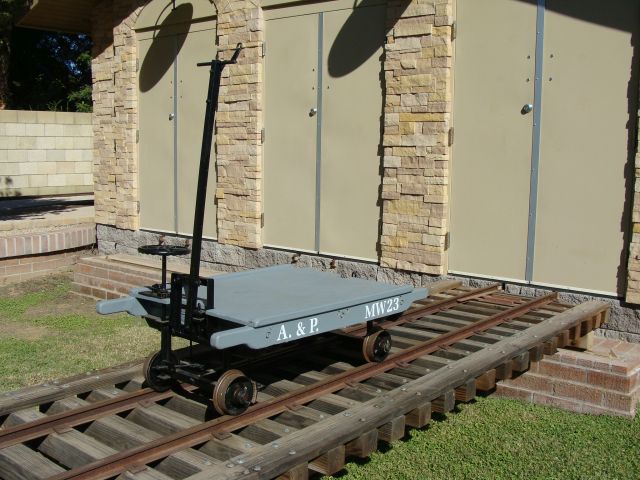
We finished numbering and lettering our Maintenance of Way car No. MW 23 and also finished numbering and lettering our two A & P motor cars MC 1 and MC 2. We have had the motor cars for several years, just finally got around to devoting the time and energy to getting the work done. I like the way they came out.
|
|
|
|
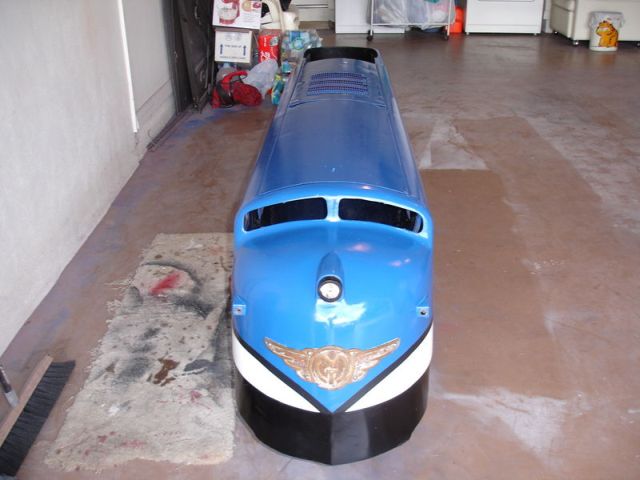
We are still looking for a number of components to complete this engine and I would like to restore it as close to original as possible. The primary components I am missing and looking for are: the front drive truck, the front drive line, an original motor with both clutches, the roof-mounted horns and the throttle handle.
Ideally, someone out there will have replaced the original motor and dual clutches set up with a new unit and modern technology and have the original sitting in the corner of a shed somewhere. If any of you know the location of any of these parts shoot me an email.
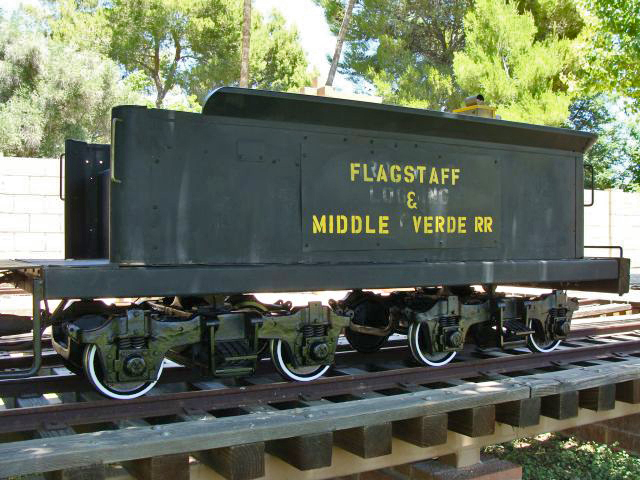
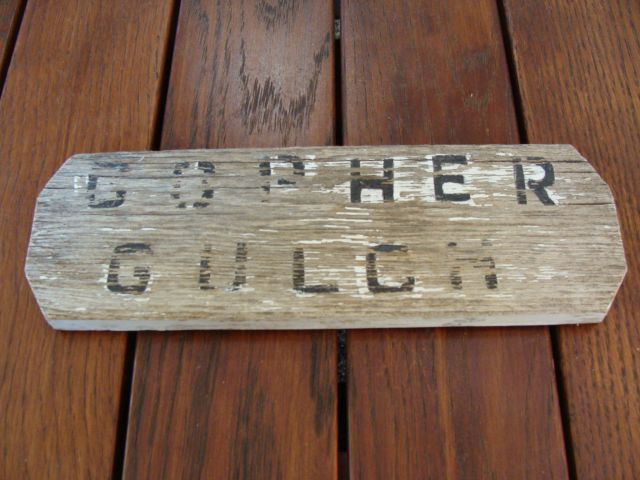
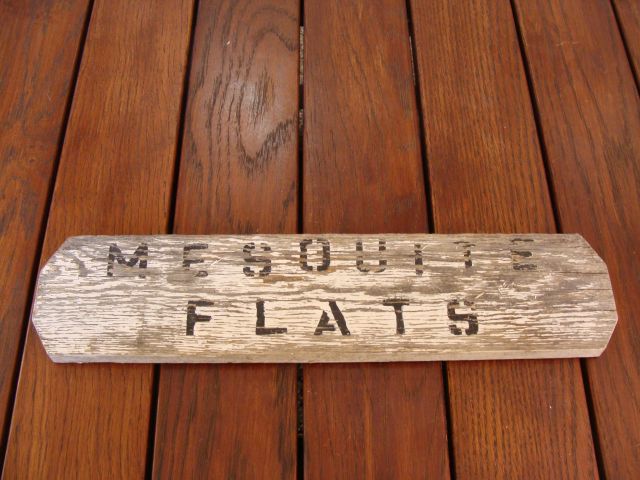
We have some location signs from the F & MV RR that we will be mounting and displaying in our engine house in the months ahead.
|
|
We added a couple of MTC advertisements to our collection.
We almost obtained a Wagner builders plate to reproduce for our collection, but that arrangement came apart. I am still kind of bummed about that one.
We did obtain a couple of boiler plates and front boiler buttons during the year and will have four items to mount on our second display board in the engine house when time permits.
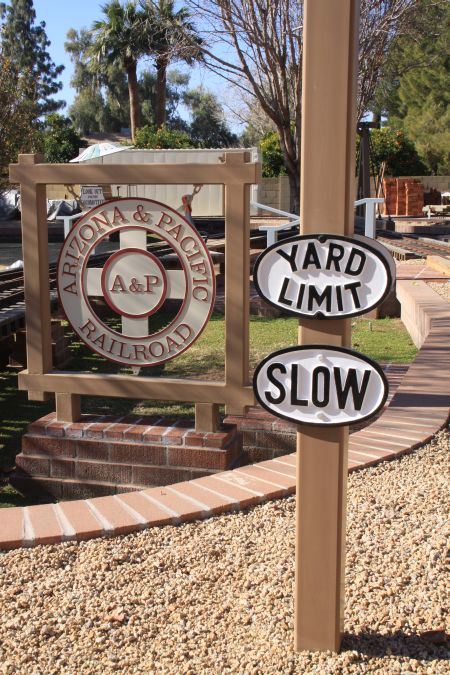
Additional signage is something that has been on or "to do" list for years; we finally got a few signs up this year. We got the two A & P logo signs mounted on the sides of turntable that better identify the A & P. We mounted one yard limit sign, three slow signs and one whistle sign. I still have several additional signs to complete the touch up on, but have been busy with other projects
|
|
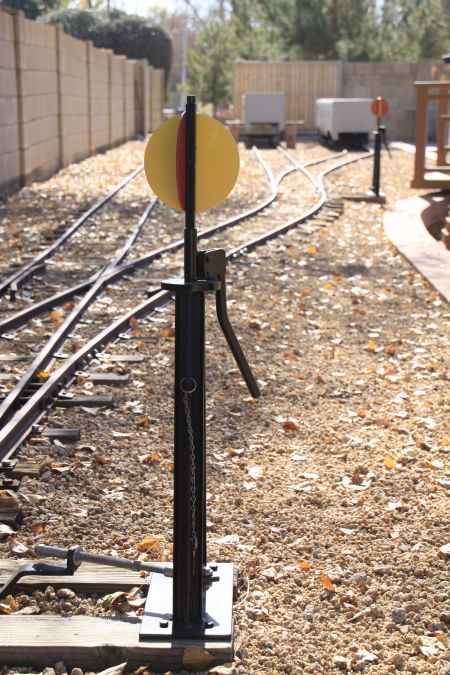
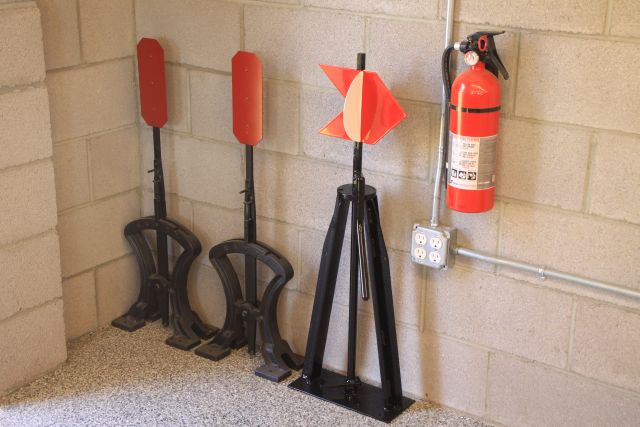
We cleaned,lubricated and repainted our nine switch stands. The eighteen targets had become badly oxidized over the years and were buffed, polished and sealed. We also retapped the mounting hole threads of the targets and added new button head bolts as mounting hardware. The targets and switch stands look very much like they did when they were new several years ago.
|
We rebuilt a total of eighteen axle sets this year as part of a major summer project of reassigning the older style G16 trucks and journal boxes to our G16 equipment and the newer style MTC journal boxes to our S16 equipment and cars. The rebuilt sets included new axles and wheels when needed and always new bearings, races, seals, gaskets and all hardware. We didn't quite get through all of them as we still have two more sets to rebuild this year.
We had one of our 5/12 switch stand and targets bead blasted and powder coated. It is on display in the corner of the engine house for now.
|
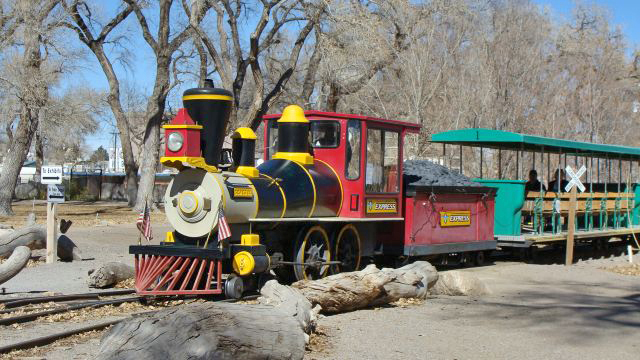
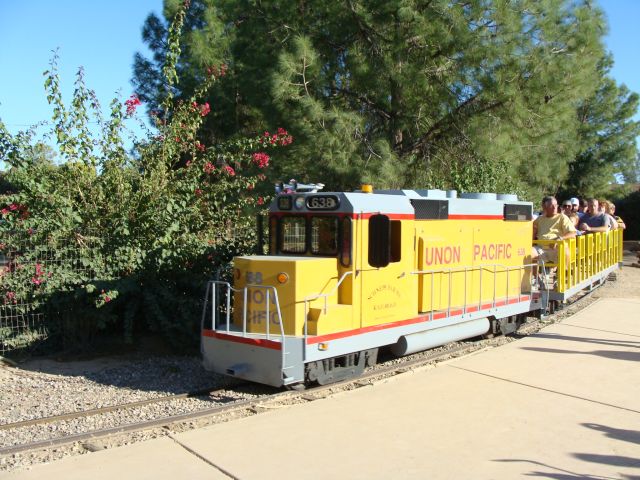
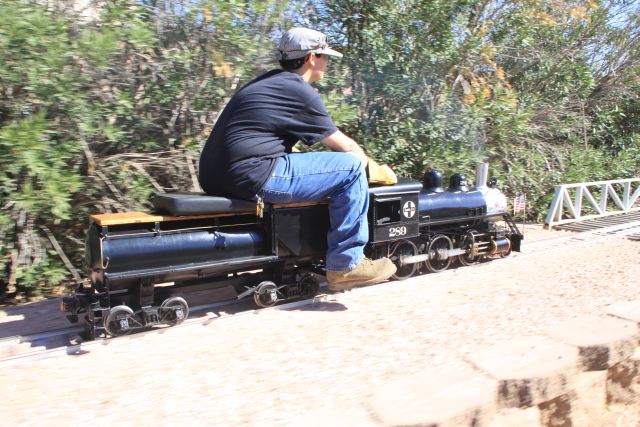
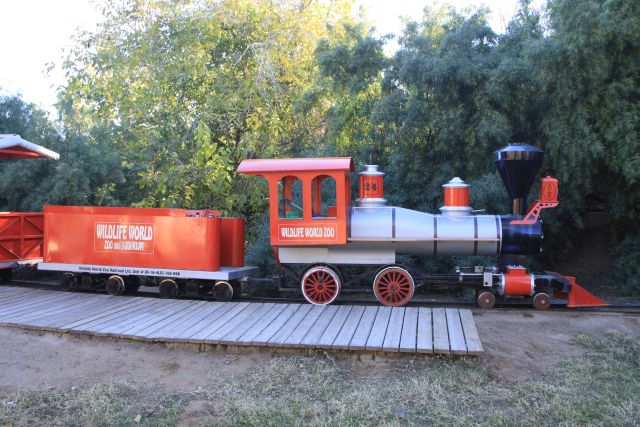
I was on the road in New Mexico for extended trips twice during the year. The first trip took me to Albuquerque for five days. I found myself with some free time mid-week and headed over to the Rio Grande Zoo where I had heard they had an operating railroad. They have a 36 inch gauge railroad called the Thunderbird Express that transports passengers throughout the zoo and I had the opportunity to ride behind two of their four engines.
|
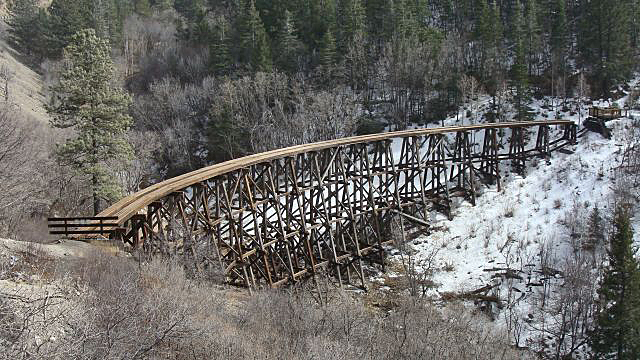
The second trip took me to the Southeastern New Mexico town of Lovington. On the way, I stopped at the Toy Train Depot in Alamogordo. They have a G16, S16 and G12 and is worth a visit. I also stopped in Cloudcroft to view the restored Mexican Canyon Trestle.
|
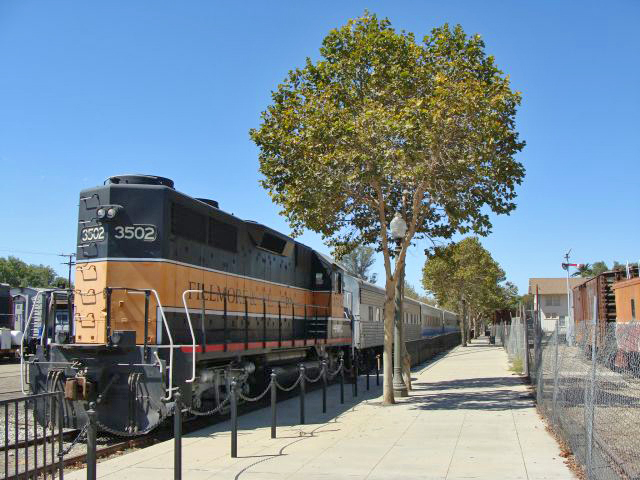
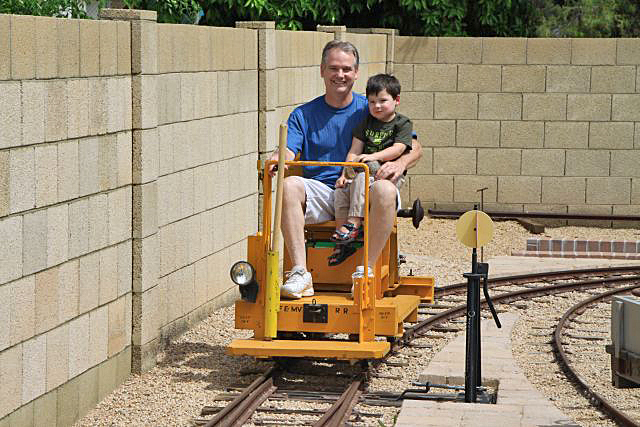
September found me in southern California for two weeks and on the weekend in between I visited the Fillmore and Western Railway in Fillmore. It is part of the old SP line through southern California and definitely a place to visit. I also stopped to tour the restored depot in Santa Paula.
|
I didn’t have much time to visit other railroads this year as I was so busy here and with my real job, but I still managed to get out a little bit. The railroads Dave and I visited in Arizona were:
|
|
|
|
We had the opportunity to host many friends and guests during the year and look forward to more of the same next year. Those that traveled the farthest were from MN and NY.
|
We had a very productive year in 2013 and have lots of plans for 2014 and beyond including:
As with every year, it is a pretty ambitious list. Hopefully, we’ll get through at least half of it. The painting projects in particular will likely get bumped another year as we work on the G16 A and B and add a couple of storage buildings. We are a small group on the A & P and sometimes it takes awhile to get major projects accomplished. It is mostly Dave and I. I get some machine shop help from Jerry, some fabrication assistance from Erich, brick and block help from Ruben and labor help from Eddie.
The interest in the website continues to amaze me. We are just two guys in Arizona sharing information and writing about our weekend railroad projects and we get thousands of web visitors a year checking in to see what we’re working on and the progress of our Allan Herschell and Miniature Train Company projects. We will likely pass the 100,000 visitor mark sometime this March. Amazing!
|
Have a Great New Year and Happy Railroading Everybody!
|

|
|
|
|